Showing posts with label Guest Posts. Show all posts

Friday, October 28, 2011

HELP with My Blog Layout and Some Funny Wren Videos for Friday!

First off, go check out Ashley's adorable blog today.  You'll love it and I'm guest posting!  Whoop, whoop! 

Second...
I NEED HELP!
I switched my blog layout yesterday to have two side bars rather than one.  When I view it in Chrome it looks great, but in Internet Explorer, BOTH the left and right side bar move to the second or third post down, so they basically don't start at the top like they should.  Does anyone know why?  I will love you forever if you can help poor me :)  And can I just say I HATE Internet Explorer?  It's a deep deep hatred too.  If I can help you with one thing in this confusing world, it's to download Google Chrome this instant and use that as your browser instead... that is if you aren't already doing so.  For one and most importantly, my blog will look better ;) and two, it'll shave years off your nerves and hours off your day.  So use that, your life will dramatically improve.  PS I'm hire-able Google Chrome if you want me for your spokesperson :)  
But BACK to me, can anyone help?

So my blog isn't totally boring today, here are three videos for your viewing pleasure...

Warning:  This first one I sound like THE most annoying person EVER!  But I really was convulsing I was laughing so hard.  This is Wren trying on his Halloween costume last night...
I just think his retainer is the cutest thing ever, especially since he can't say his S's when he wears it.
Oh and don't mind my messy kitchen.

This next one is also from last night (we had a productive one).  Wren got his eyes dilated yesterday at the eye doctor so he wore his "kewl" sunglasses all night... while taking a nap, while working on the computer; I don't know why I thought it was so funny.
I think just because he looked so dang cool.
And last, I was looking through our video camera today and found the cutest video from when Wren and I first got married... Almost four years ago.  Time flies when you're having fun!  This is in our first apartment (hence the AWESOME ;) decor in the background) and Wren looks like a baby.  Love him.

Thursday, October 27, 2011

Super Easy Ottoman Tutorial!

Today I am posting a super fun and easy tutorial for an ottoman my husband and I just made that I will also be sharing on this cute girl's blog tomorrow.  You've gotta check her blog out too BTW, she's adorable!
   
K ottomans?  The ones I saw in stores are so dang expensive and not that cute.  So we thought, why not make one exactly how we want it?  
It was cheap, easy, and we love it!

So here we go....
What you'll need:
Scissors, staple gun, staples, screws, fabric (dimensions of fabric will depend on how big your coffee table is), measuring tape...
...razor blade, glue gun, and a saw (not pictured).
You'll also need a base of an old coffee table...
Plywood (cut to the dimensions of the top of your coffee table)...
And poly foam, make sure the dimensions can be cut to equal the size of your plywood.  We got two packages of this so there would be enough for two layers.  Our coffee table is huge, so you may only need one package of this.  
 First, lay the plywood on top of the coffee table making sure that it is the same size.  If your coffee table is rounded on the corners like ours was, you will need to saw the edges of the plywood into a curve to match the coffee table.  If it's just square you may be fine not to saw at all.  
It should look like this.
 If it matches up well, take the plywood off the table, lay it on the ground, and start matching the poly foam up to it so there's padding covering all of the plywood.  You'll probably need to cut the poly foam and lay it down in pieces in order to cover all of the plywood.  Like a puzzle, get it?  Like I said, we did two layers of poly foam, so if you want your ottoman really plush, do two layers which will probably call for two packages of the poly foam.  We even left a bit of an overhang of poly foam over the edges of the plywood so the edges are all comfy and soft.   
 Once it's all matched up, hot glue the poly foam to the plywood, and if you're doing two layers of poly foam, glue the second layer to the first layer so it's all secured down and tight.  The reason you are doing this is so when you flip the plywood upside down, the pieces stay where you want them.
 Once you've glued everything tightly down, lay your fabric down right side facing the floor, tip your plywood upside down being very careful your poly foam stays in place, and lay it on top of the fabric.
 Once you have laid it down, grab the edges of the fabric, stretch REALLY tight, and staple the fabric down to the plywood.  You will move around the entire piece of the plywood doing this.  The key really is to pull the fabric extremely tight.  If you don't, there will be little ripples in your ottoman which you don't want.  Maybe you do, if you do, don't pull it tight ;)
 Once you are done it should look something like this!


Flip it over, set it on top of the base of the coffee table, screw the base of the table into the plywood from underneath so it's secure and tight.
And wala, you are done!
 
Pretty fun huh?
Now go try it and please email me at rolleduppretty@gmail.com if you have ANY questions.  I would love to hear how this turned out for you too, so if you decide to do it, send me the pictures!  That would be so fun to see what you did, I could created a post about everyone's! :)

Tuesday, August 16, 2011

Guest Post from Emily from My Words, My Interests, My Life!

K everyone you're in for a GINORMOUS treat again today.  I have yet another super fun guest post brought to you by Emily from My Words, My Interests, My Life.  I fortunately stumbled upon her blog this week and fell in LOVE.  Like took WAY too much time out of my busy day reading it.  It will suck you in too....
It really is so dang fun.
Check it out....

Well, hello there! I'm Emily from the life and style blog My Words, My Interests, My Life and I am more than thrilled to be guest posting over here on Savannah's charming space today while she is out and about! A big and sincere thanks to her for this opportunity to meet all of you!
So, now on to the goods about me and my little bloggie! In a nutshell, I'm just your average All-American, Midwestern girl who is also a registered nurse at a psychiatric hospital, a lover of all things girlie and sparkly, a dreamer, and did I mention dessert and cupcake fanatic?!? I've got the cavities to prove it!
I started my blog just a little over one year ago on a whim, and after a little prodding from friends and family members, to chronicle my random thoughts, interests, and life (hence the title: My Words, My Interests, My Life... but you probably picked up on that without this mention, huh?) Although it would probably be just as easy for you to hop on over to my blog to see what it's all about, here's a quick glance at what I share with my readers concerning my simple, yet lovely life. If you're intrigued by any or all of it....follow it! (not in my bossy tone by the way!)
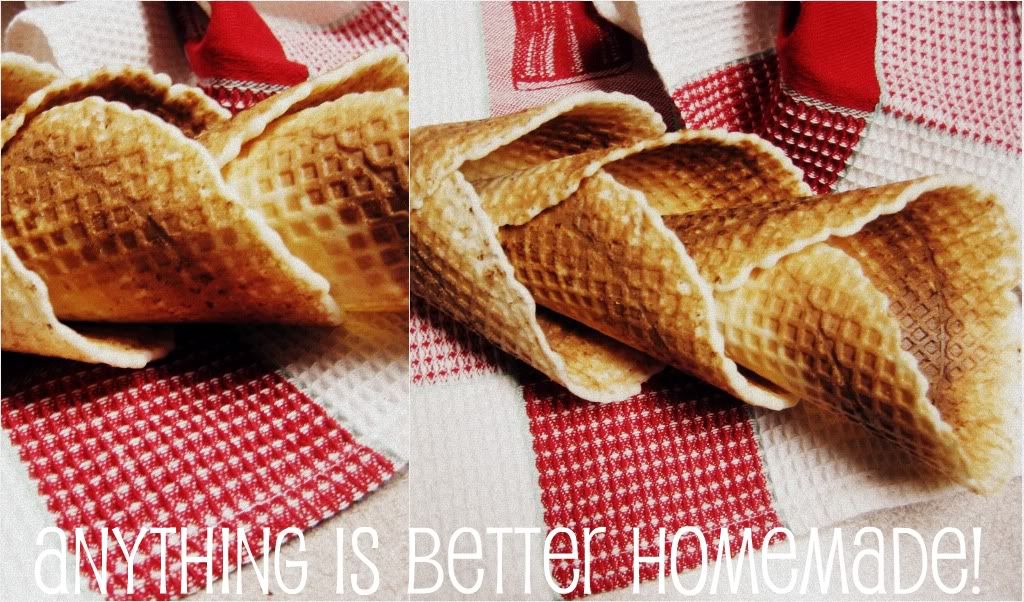
I share my passion for baking (sometimes cooking) in posts nearly every Monday titled "Must Make Monday"

Photobucket
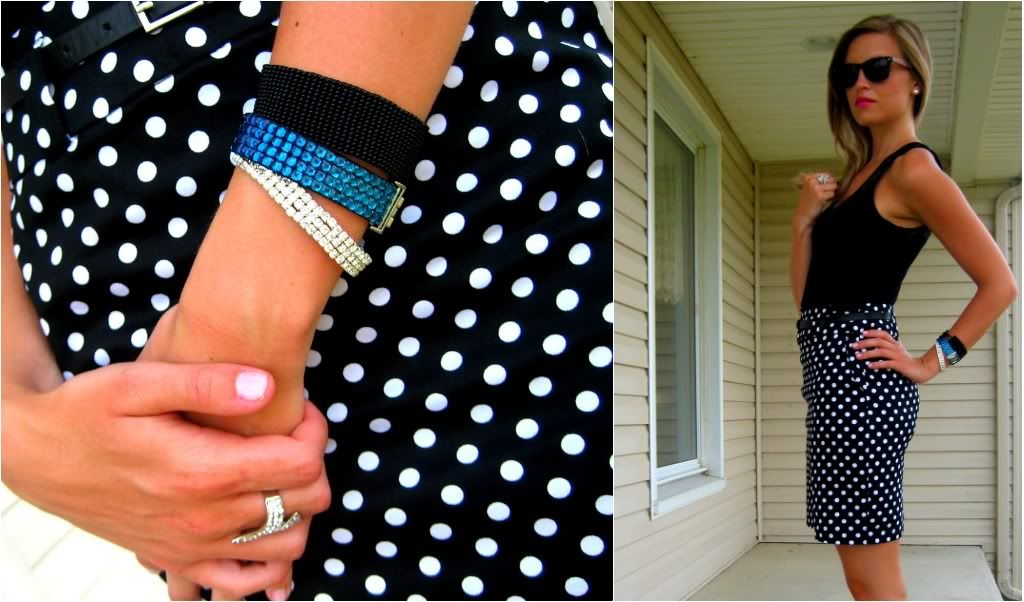
I showcase my All-American girl style in outfit posts like these.
Photobucket
I let you in on my goals, dreams, and aspirations to make the world a better place, for young women in particular.
Photobucket
I teach you many DIY projects, because I'm that kind of girl who gets a lot of gratification out of doing things herself!
Photobucket
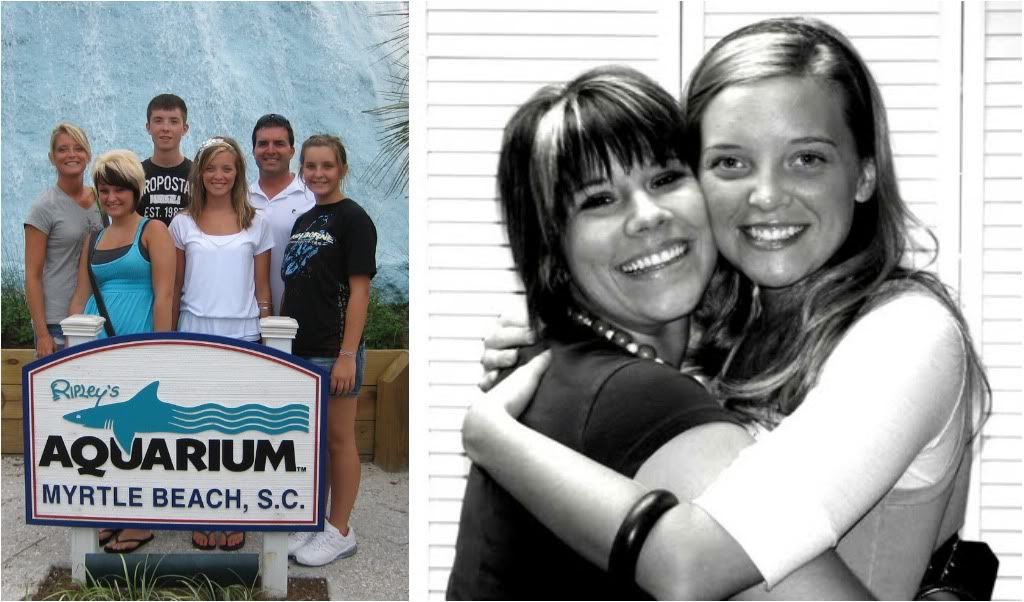
I give you a glimpse into my life as a daughter, granddaughter, sister, niece, friend, and soon-to-be aunt (my sister's having a girl this December!)
Photobucket
If you like what you've seen/heard and want to view more.... plop your cute butt down and hop on over here. Stay awhile why don'tcha?
Hugs & Kisses,
Emily


Thanks so much Emily!
I also did a guest post on her blog today, so you can see it there as well.
As I said earlier, you MUST go check her blog out.
You won't be sorry!!!
Promise.... :)